

Painting a ceiling may seem straightforward… but achieving a perfectly even finish is in fact one of the most technically demanding tasks in interior painting. Between roller marks, visible lap lines and inconsistent levels of matt, the ceiling leaves absolutely no room for error.
Success depends on two essential elements: a rigorous technique and a high-quality paint.
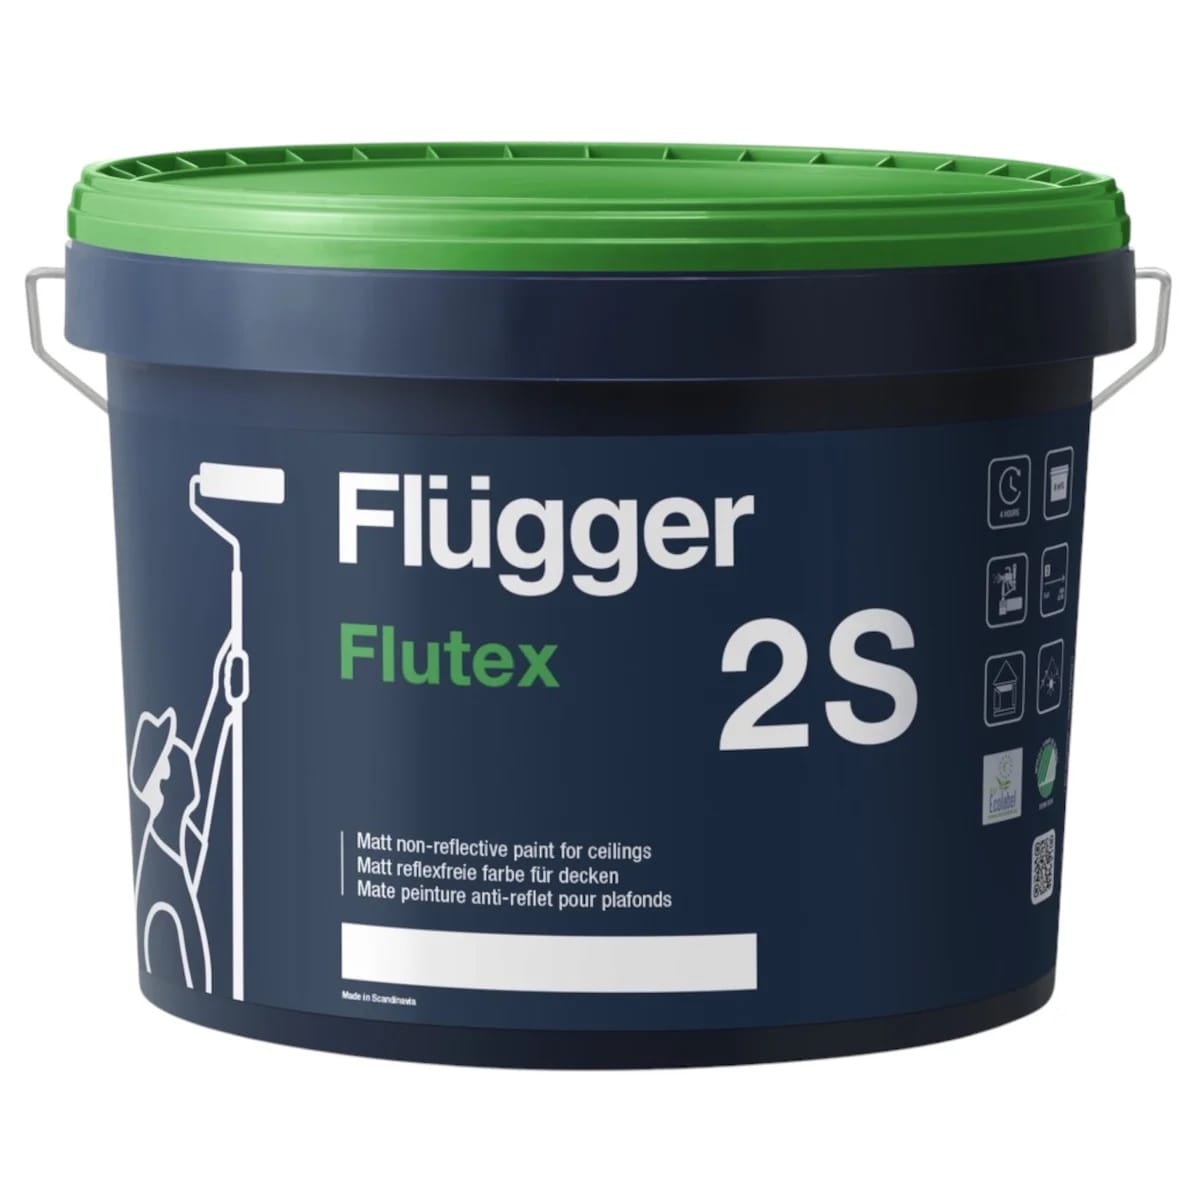
Used by many professional painters, Flügger Flutex 2S has become a go-to reference for demanding ceiling projects. Its ease of application and flawless finish make it a reliable choice for anyone looking for a durable and aesthetically pleasing result.
Discover Flügger Flutex 2S and its performance directly in our shop to ensure the success of your project.
Why is painting a ceiling so difficult?
Unlike walls, ceilings catch light directly or at a raking angle. The slightest imperfection becomes immediately visible, even several days after application.
The most common issues are:
-
roller marks
-
lap lines
-
insufficient opacity
-
paint that dries too quickly
-
inconsistent finish
It is precisely to avoid these problems that choosing a reliable paint with a good open time and strong hiding power is essential.
Why choose Flügger Flutex 2S for a ceiling?
A deep matt finish that conceals imperfections
Matt is the ideal finish for a successful ceiling. It absorbs light rather than reflecting it, which greatly reduces the visibility of minor surface irregularities.
Flutex 2S offers an elegant, uniform matt appearance that immediately conveys a sense of professional quality.
The result: the ceiling stays discreet and blends seamlessly into your interior.
High opacity for real time savings
Applying multiple coats on a ceiling is tiring and time-consuming. Thanks to its excellent hiding power, Flutex 2S typically delivers a flawless result in just two coats.
Fewer passes means:
-
a faster project
-
less product consumption
-
reduced physical effort
A considerable advantage for both professionals and demanding homeowners.
A comfortable open time: the key to a ceiling without lap lines
Open time refers to the period during which the paint remains workable after application. This criterion is often underestimated, yet it is crucial when working on large surfaces.
With Flutex 2S:
you can cross your roller passes with ease
joins remain invisible
the paint levels out naturally
This characteristic greatly reduces the risk of marks.
Remarkable application comfort
Painting a ceiling is physically demanding. A paint that is difficult to spread can quickly turn your project into a real struggle.
Flutex 2S stands out for:
-
excellent glide
-
minimal spattering
-
smooth, even application
-
easy re-rolling
You work more comfortably… and the results are immediately visible.
How to paint a ceiling like a professional?
Even with an excellent paint, technique remains key.
1. Prepare your surface carefully
A clean surface ensures better adhesion and a more attractive finish.
Before painting:
-
dust the ceiling thoroughly
-
wash it down if necessary
-
fill any cracks and holes
-
sand lightly
Never skip this step: it determines the final result.
2. Use a quality roller
Your choice of roller has a direct impact on the finish.
We recommend a microfibre roller with a 10 to 12 mm nap, ideal for even loading and a smooth, tight finish.
Low-quality rollers can shed fibres and leave visible marks.
3. Work in sections to maintain a wet edge
Paint in strips of approximately one metre and move quickly from one to the next. The goal is to prevent the paint from drying between passes.
The open time of Flutex 2S greatly helps maintain this continuity and keeps your application under control.
4. Cross your strokes, then finish in the direction of the light
Apply the paint in one direction, cross your strokes, then finish with a final pass in the direction of the light.
This technique significantly reduces roller marks and improves the uniformity of the finish.
5. Avoid overloading your roller
An overloaded roller causes runs and uneven thickness.
Roll off the excess properly and apply the paint evenly: its self-levelling properties will do the rest.
Mistakes to avoid at all costs
Even with a premium paint, certain mistakes can compromise the result:
using an unsuitable roller
painting too slowly
going back over an area that is already drying
neglecting surface preparation
choosing a budget paint
Saving a few pounds on paint can be costly in terms of appearance. A poorly finished ceiling immediately draws the eye… whereas a perfectly painted ceiling goes completely unnoticed.
The Pygmalion expert's advice
If there is one surface where paint quality makes all the difference, it is the ceiling.
Choosing Flügger Flutex 2S means:
keeping your project on track
enjoying greater application comfort
achieving a premium finish
working with a paint trusted by professionals
A sound investment for a lasting and attractive result.
In summary
Flügger Flutex 2S brings together all the qualities needed for a successful ceiling:
easy application
excellent opacity
comfortable open time
deep matt finish
uniform result
A reliable choice for a professional finish, with no unpleasant surprises.
FAQ – Painting a ceiling without streaks
What is the best paint for a streak-free ceiling?
A high-quality matt paint with a good open time is essential. A professional paint such as Flügger Flutex 2S delivers a uniform finish and greatly reduces the need for touch-ups.
Should ceiling paint be diluted?
In most cases, Flutex 2S is ready to use straight from the tin. Slight dilution may be considered depending on the substrate or application conditions, but is generally not necessary.
Which roller should be used to paint a ceiling?
A 10 to 12 mm microfibre roller is ideal for achieving an even application, loading the paint properly and avoiding streaks.
How many coats are needed for a ceiling?
Two coats are generally sufficient for a perfectly uniform result, especially when using a high-opacity paint.
Why are streaks visible after painting a ceiling?
Streaks often appear when the paint dries too quickly, when passes are not crossed or when the wet edge is not maintained. Using a professional paint greatly reduces this risk.